No agenda yet.
[Windows 10 and 11 Activation Guide Using KMS Server]
The following is a guide to activating Windows using KMS:
The following activation guide is intended for devices running Windows 10 and Windows 11. After the Windows installation process, please carry out the following steps to activate Windows:
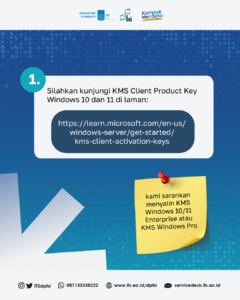
1. Take the product key according to the Windows that is installed on your laptop, at the link:
https://learn.microsoft.com/en-us/windows-server/get-started/kms-client-activation-keys
We recommend copying the KMS product key for Windows 10/11 Pro or Enterprise;
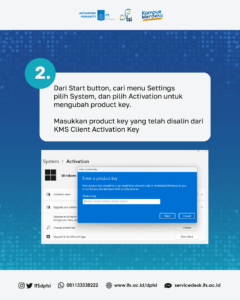
 2. From the Start button, look for the Settings menu -> select System -> select Activation to change the product key. Enter the product key that was copied from the KMS Client Activation Key;
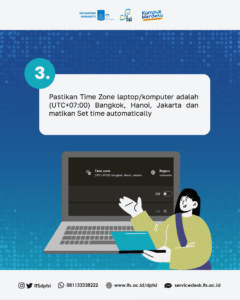
 3. Make sure the Time Zone of the laptop/computer is (UTC+07:00) Bangkok, Hanoi, Jakarta and turn off Set Time Automatically;
 4. Make sure the laptop/computer is connected to the ITS intranet network;
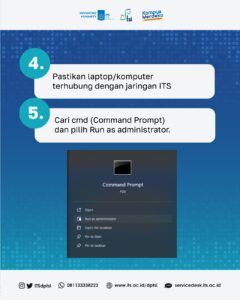
5. Search for the Command Prompt application -> right click and select Run as Administrator;
4. Make sure the laptop/computer is connected to the ITS intranet network;
5. Search for the Command Prompt application -> right click and select Run as Administrator;
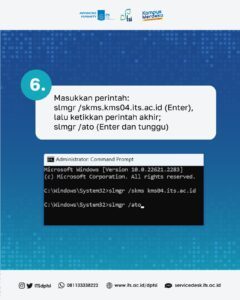
 6. Type script: slmgr /skms kms04.its.ac.id , then enter.
Then type the script again: slmgr /ato , then enter.
6. Type script: slmgr /skms kms04.its.ac.id , then enter.
Then type the script again: slmgr /ato , then enter.